
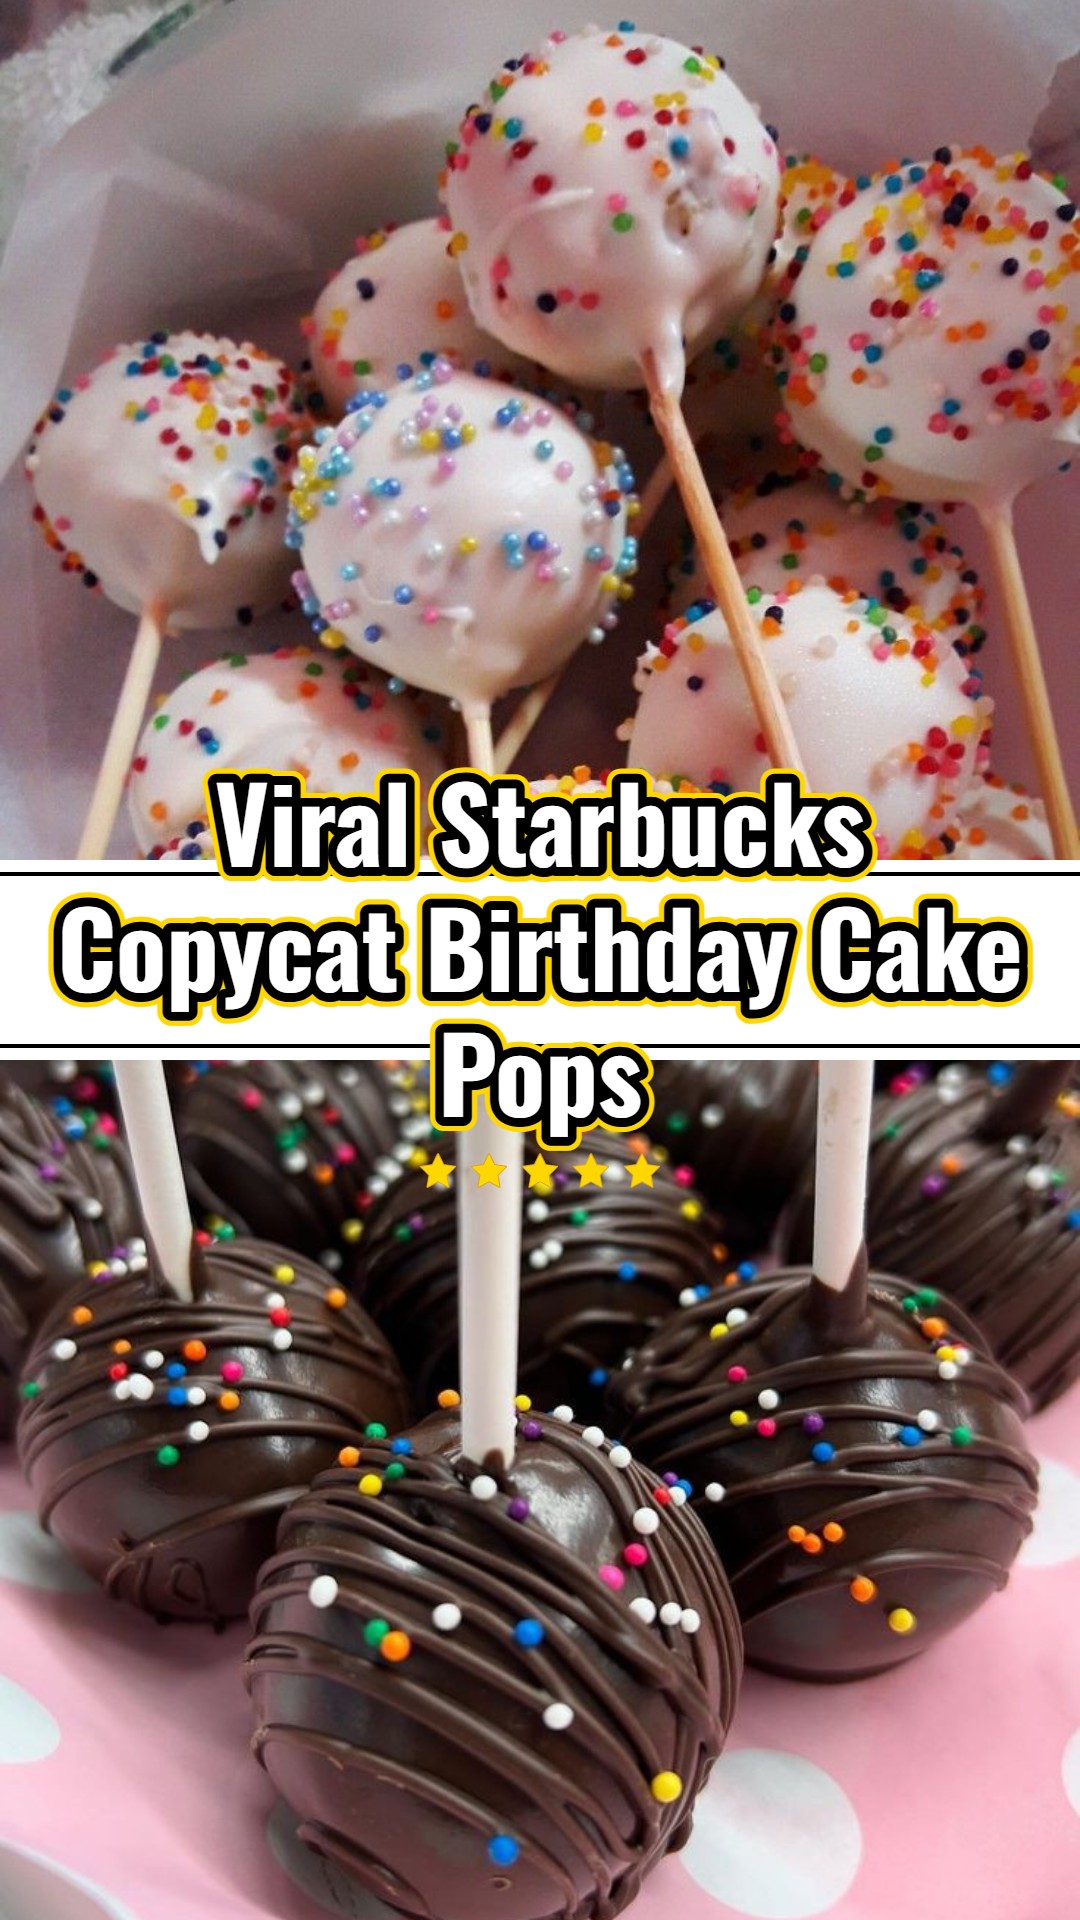
Imagine the joy of biting into a perfectly sweet, vibrantly decorated Birthday Cake Pop, knowing you made it yourself! These little spheres of happiness, inspired by the iconic Starbucks treat, are more than just a dessert – they’re a celebration in every bite. If you’ve ever dreamt of recreating that magic at home, your culinary adventure starts here. This comprehensive guide will walk you through every step, transforming simple ingredients into dazzling, delicious cake pops that are sure to impress. Perfect for birthdays, special gatherings, or simply elevating an ordinary day, these homemade delights offer all the fun without the fuss. Get ready to unleash your inner pastry chef and create a batch of the best easy sweet treats your friends and family will adore!
Helpful Tips
- Achieving Perfect Cake Crumb Consistency: The key to successful cake pops lies in the cake-to-frosting ratio. Start by crumbling your cooled cake very finely – no large chunks! Then, add frosting a tablespoon at a time, mixing thoroughly with your hands. The mixture should feel like play-doh, firm enough to hold its shape when rolled but not sticky or greasy. If it’s too wet, it will fall off the stick; too dry, and it will crumble. Adjust gradually until it’s just right.
- The Importance of a Good Chill: Do not skip the chilling step! After rolling your cake balls, refrigerate them for at least 30 minutes (or freeze for 15). This firms them up significantly, creating a sturdy foundation that prevents them from collapsing or falling into the warm candy coating during the dipping process. A well-chilled ball is a happy cake pop.
- Mastering the Candy Coating: For a smooth, professional-looking finish, ensure your candy melts are the correct consistency. If they’re too thick, your cake pops will be clumpy. Thin them out by adding 1 teaspoon of vegetable shortening or refined coconut oil at a time, stirring until it’s fluid enough to drip smoothly from a spoon, but still opaque. Using a deep, narrow glass helps ensure full coverage with less waste.
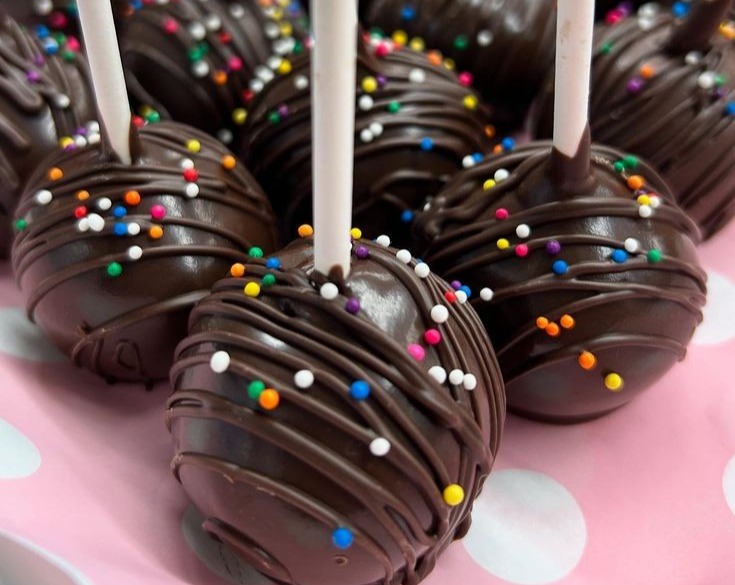
- Flavor and Decorating Variations: While vanilla is classic, feel free to experiment! Use chocolate cake mix with a mocha buttercream for a richer flavor, or red velvet cake for a festive twist. For the coating, try different colored candy melts to match party themes. Instead of just sprinkles, consider drizzling with contrasting melted chocolate, edible glitter, or finely chopped nuts for added texture and elegance. A tiny drop of food coloring in your white candy melts can create pastel hues.
- Storage and Serving Perfection: Once decorated and dried, store your cake pops in an airtight container in the refrigerator for up to a week. For the best taste and texture, allow them to come to room temperature for about 15-20 minutes before serving. If you’re planning ahead, you can freeze undecorated cake balls for up to a month; thaw them in the refrigerator overnight before proceeding with the dipping and decorating steps.
Step-by-Step Instructions
- Bake the Cake: Prepare the vanilla cake mix according to package directions in a 9×13 inch baking pan, adding 1 teaspoon of vanilla extract and a pinch of salt to the batter for enhanced flavor. Once baked, let the cake cool completely in the pan on a wire rack.
- Crumble the Cake: Once cooled, transfer the cake to a large mixing bowl. Using your hands, crumble the entire cake until it resembles fine crumbs with no large pieces remaining. This is a crucial step for smooth cake pops!
- Make the Frosting: In a separate bowl, cream together the softened unsalted butter until light and fluffy. Gradually add the powdered sugar, mixing until combined. Add 1/2 teaspoon vanilla extract, a pinch of salt, and 1 tablespoon of milk or cream. Beat until smooth, adding more milk or cream a teaspoon at a time if needed, until you have a smooth, spreadable frosting.
- Combine Cake & Frosting: Add about 1/2 to 3/4 of the frosting to the crumbled cake. Mix with your hands until the cake mixture is moist enough to be pressed together and form a ball that holds its shape, but not so wet that it’s sticky or greasy. You may not need all the frosting, so add gradually.
- Form the Cake Pops: Scoop out about 1.5 tablespoons of the mixture and roll it firmly between your palms to form a smooth, dense ball. Place the formed cake balls on a baking sheet lined with parchment paper. Repeat until all the mixture is used.
- Chill the Cake Balls: Place the baking sheet with the cake balls into the refrigerator for at least 30 minutes, or the freezer for 15 minutes, until firm. This helps them stay on the stick.
- Prepare the Coating: In a microwave-safe bowl or using a double boiler, melt the white candy melts (or white chocolate chips) according to package directions, stirring frequently until smooth. If the coating is too thick, add shortening or coconut oil a teaspoon at a time and stir until it reaches a dippable consistency.
- Dip the Sticks: Remove the chilled cake balls from the fridge. Dip the tip of each cake pop stick about 1/2 inch into the melted candy coating, then insert the stick halfway into a cake ball. This acts as “glue” to secure the cake pop.
- Dip the Cake Pops: Dip each cake pop into the melted coating, turning gently to ensure it’s fully covered. Gently tap the stick against the edge of the bowl to remove excess coating. Do not swirl or shake vigorously.
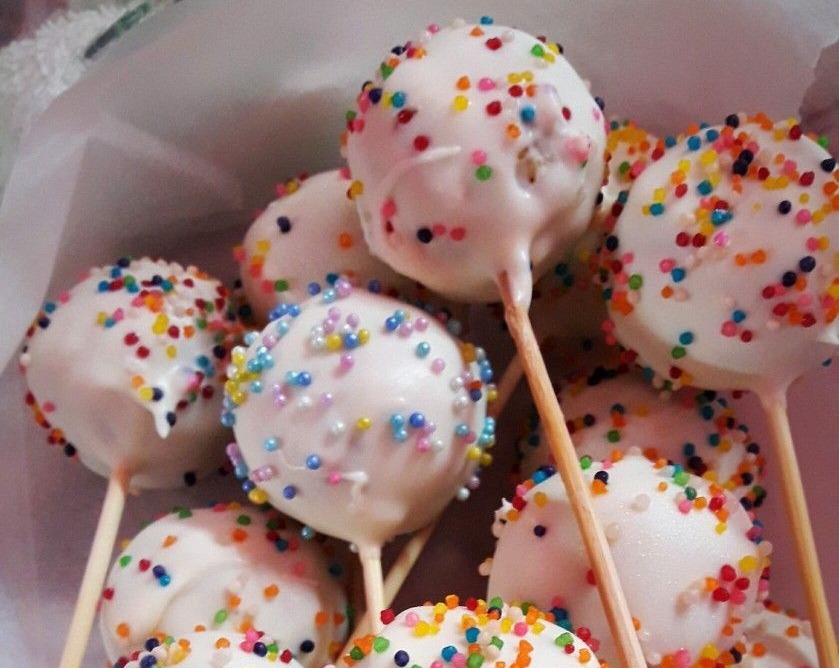
- Decorate & Dry: Immediately after dipping, hold the cake pop upright and generously shower it with rainbow sprinkles before the coating sets. Insert the stick into a Styrofoam block or cake pop stand to dry completely, usually about 15-20 minutes. Repeat with remaining cake pops.
Ingredients
- 1 box (15.25 oz) vanilla cake mix (plus ingredients called for on the box, typically eggs, oil, water)
- 1 teaspoon vanilla extract
- Pinch of salt
- 1/2 cup (1 stick) unsalted butter, softened
- 2 cups powdered sugar
- 1-2 tablespoons milk or heavy cream
- 1/2 teaspoon vanilla extract
- Pinch of salt
- 16 oz white candy melts or white chocolate chips
- 1-2 tablespoons shortening or coconut oil (optional, for thinning)
- Rainbow sprinkles
- 24-30 cake pop sticks
Homemade Starbucks Copycat Birthday Cake Pops Best Easy Sweet Treats
Discover the secret to crafting vibrant, celebratory Starbucks-style Birthday Cake Pops right in your kitchen, perfect for delighting guests at any event.
Ingredients
- 1 box (15.25 oz) vanilla cake mix (plus ingredients called for on the box, typically eggs, oil, water)
- 1 teaspoon vanilla extract
- Pinch of salt
- 1/2 cup (1 stick) unsalted butter, softened
- 2 cups powdered sugar
- 1-2 tablespoons milk or heavy cream
- 1/2 teaspoon vanilla extract
- Pinch of salt
- 16 oz white candy melts or white chocolate chips
- 1-2 tablespoons shortening or coconut oil (optional, for thinning)
- Rainbow sprinkles
- 24-30 cake pop sticks
Instructions
- Bake the Cake: Prepare the vanilla cake mix according to package directions in a 9x13 inch baking pan, adding 1 teaspoon of vanilla extract and a pinch of salt to the batter for enhanced flavor. Once baked, let the cake cool completely in the pan on a wire rack.
- Crumble the Cake: Once cooled, transfer the cake to a large mixing bowl. Using your hands, crumble the entire cake until it resembles fine crumbs with no large pieces remaining. This is a crucial step for smooth cake pops!
- Make the Frosting: In a separate bowl, cream together the softened unsalted butter until light and fluffy. Gradually add the powdered sugar, mixing until combined. Add 1/2 teaspoon vanilla extract, a pinch of salt, and 1 tablespoon of milk or cream. Beat until smooth, adding more milk or cream a teaspoon at a time if needed, until you have a smooth, spreadable frosting.
- Combine Cake & Frosting: Add about 1/2 to 3/4 of the frosting to the crumbled cake. Mix with your hands until the cake mixture is moist enough to be pressed together and form a ball that holds its shape, but not so wet that it's sticky or greasy. You may not need all the frosting, so add gradually.
- Form the Cake Pops: Scoop out about 1.5 tablespoons of the mixture and roll it firmly between your palms to form a smooth, dense ball. Place the formed cake balls on a baking sheet lined with parchment paper. Repeat until all the mixture is used.
- Chill the Cake Balls: Place the baking sheet with the cake balls into the refrigerator for at least 30 minutes, or the freezer for 15 minutes, until firm. This helps them stay on the stick.
- Prepare the Coating: In a microwave-safe bowl or using a double boiler, melt the white candy melts (or white chocolate chips) according to package directions, stirring frequently until smooth. If the coating is too thick, add shortening or coconut oil a teaspoon at a time and stir until it reaches a dippable consistency.
- Dip the Sticks: Remove the chilled cake balls from the fridge. Dip the tip of each cake pop stick about 1/2 inch into the melted candy coating, then insert the stick halfway into a cake ball. This acts as 'glue' to secure the cake pop.
- Dip the Cake Pops: Dip each cake pop into the melted coating, turning gently to ensure it's fully covered. Gently tap the stick against the edge of the bowl to remove excess coating. Do not swirl or shake vigorously.
- Decorate & Dry: Immediately after dipping, hold the cake pop upright and generously shower it with rainbow sprinkles before the coating sets. Insert the stick into a Styrofoam block or cake pop stand to dry completely, usually about 15-20 minutes. Repeat with remaining cake pops.
Shopping List
Pantry
- 1 box vanilla cake mix
- 1 teaspoon vanilla extract
- Pinch of salt
- 2 cups powdered sugar
- Rainbow sprinkles
- 24-30 cake pop sticks
Dairy & Eggs
- Eggs (as required by cake mix box)
- Oil (as required by cake mix box)
- Water (as required by cake mix box)
- 1/2 cup (1 stick) unsalted butter
- 1-2 tablespoons milk or heavy cream
Baking & Candy
- 16 oz white candy melts or white chocolate chips
- 1-2 tablespoons shortening or coconut oil (optional)
Equipment Needed
- 9×13 inch baking pan
- Large mixing bowl
- Electric mixer (handheld or stand mixer)
- Spatula
- Baking sheet
- Parchment paper or silicone baking mat
- Microwave-safe bowl or double boiler
- Deep, narrow glass or mug
- Cake pop sticks (lollipop sticks)
- Styrofoam block or cake pop stand (for drying)
Variations & Serving Ideas
These charming Starbucks Copycat Birthday Cake Pops are truly versatile and elevate any gathering! Showcase them by arranging them artfully on a tiered serving stand, or create a whimsical ‘cake pop bouquet’ by standing them in a decorative vase filled with floral foam. They are a delightful standalone treat, but also make a fantastic addition to a dessert bar alongside miniature cupcakes, macarons, or a vibrant fruit tart. Pair them with a freshly brewed coffee for an afternoon indulgence, or a cold glass of milk for the younger crowd. Any leftover cake pops can be kept fresh in an airtight container in the refrigerator for up to 7 days. For longer enjoyment, they can be frozen for up to one month; simply transfer to the fridge to thaw completely before serving at room temperature.
And there you have it – your impressive, homemade batch of Starbucks-inspired Birthday Cake Pops! Crafting these delightful treats is such a rewarding experience, and the joy they bring is simply unmatched. Feel free to get creative with your sprinkles and designs; remember, the best part is making them uniquely yours. I’d absolutely love to hear about your cake pop adventures and any clever variations you whipped up, so please share your thoughts and photos in the comments below. Happy baking, and enjoy every sweet bite! #HowToMakeCakePop #StarbucksRecipesCakepops #HowToMakeSweets #HowToMakeCakepops #HowToMakeCakePopsStepByStep #BdayFoodIdeas #EasySweetTreatsRecipes #BestCakePopRecipe #HomemadeCakePops